Look… I’m not a frontend developer.
In fact, it’s not something that I really enjoy. Dealing with node, npm, yarn, massive dependency lists, html and css styling… the list goes on and on.
For me, the appeal to Svelte is its ease-of-use and ease-of-deployment. Svelte has been by far, the easiest framework for me to play with and to get something accomplished quickly. I’m not saying that this is a good argument for Svelte, but for me personally, it has allowed me to overcome the learning curves of other frameworks with minimal effort. I’m not looking to make claims that it’s better than the other frameworks out there (we all know how opinionated this industry is), but I will say this: If you’re someone learning about frontend development, or trying to prototype quickly, then perhaps Svelte can help you achieve those goals faster and with less effort.
Let’s check it out!
Simplicity in Design
// A simple Svelte component
<script>
  let name = 'world';
</script>

<h1>Hello {name}!</h1>

<style></style>
That’s it, this is a simple component that will render “Hello World”. It has a script tag, some html, and optionally, you can specify a style tag.
More Complete Example
I’ve provided the code in a repository, which you can download and play with:
But going forward in the blog, I’ll provide screenshots with step-by-step setup instructions.
Setup
First, we need to install and setup Svelte. One tool that you might not have heard about is Vite. It provides us with a development server and can manage our bundling and packaging. By using Vite, we can create a simple Svelte skeleton project, which we can use to start our demo!
yarn create vite svelte-demo --template svelte
After running this command, you should see a directory structure similar to this

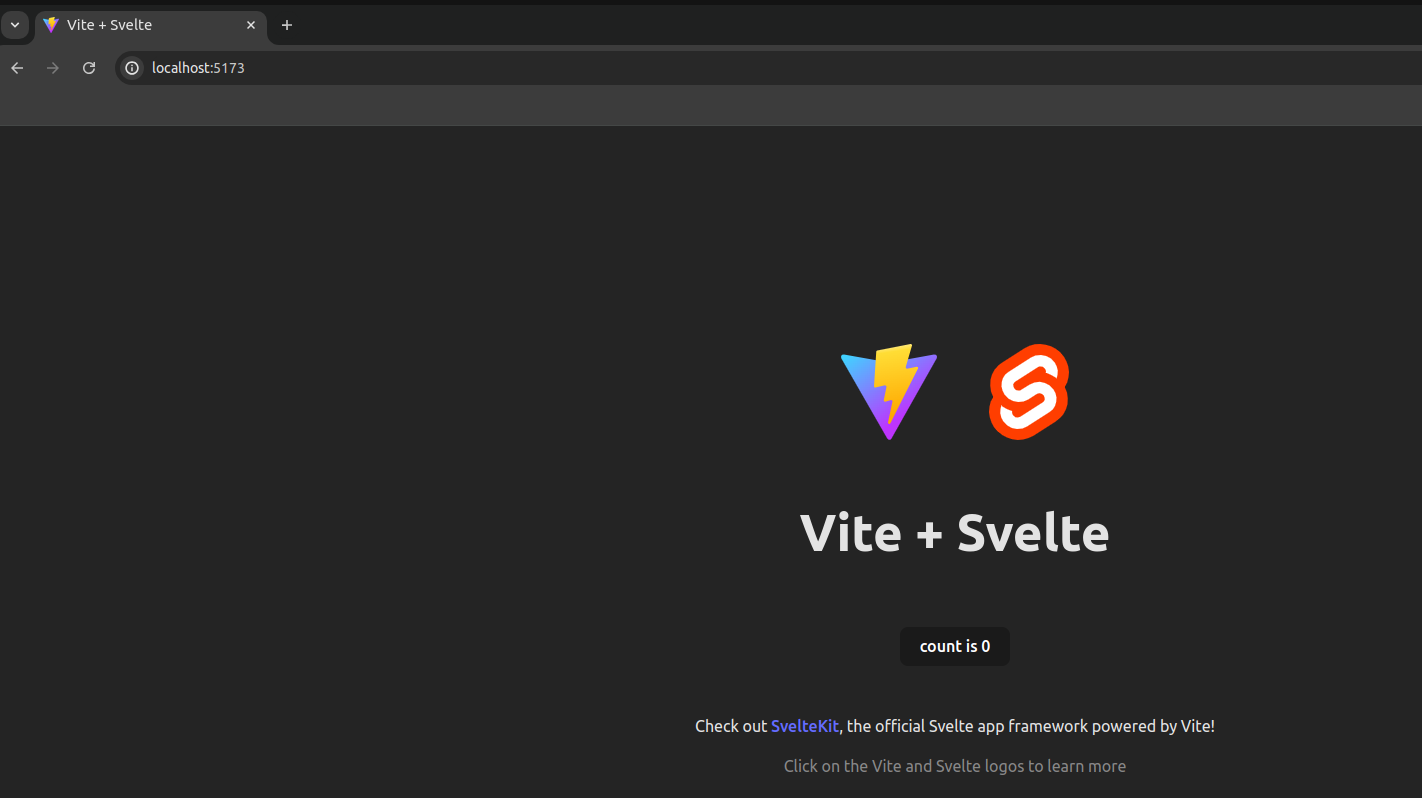
Next, we need to install our dependencies and then run the app. Now, we can go to our browser and see that our simple Svelte app is running locally!
    yarn install
    yarn dev
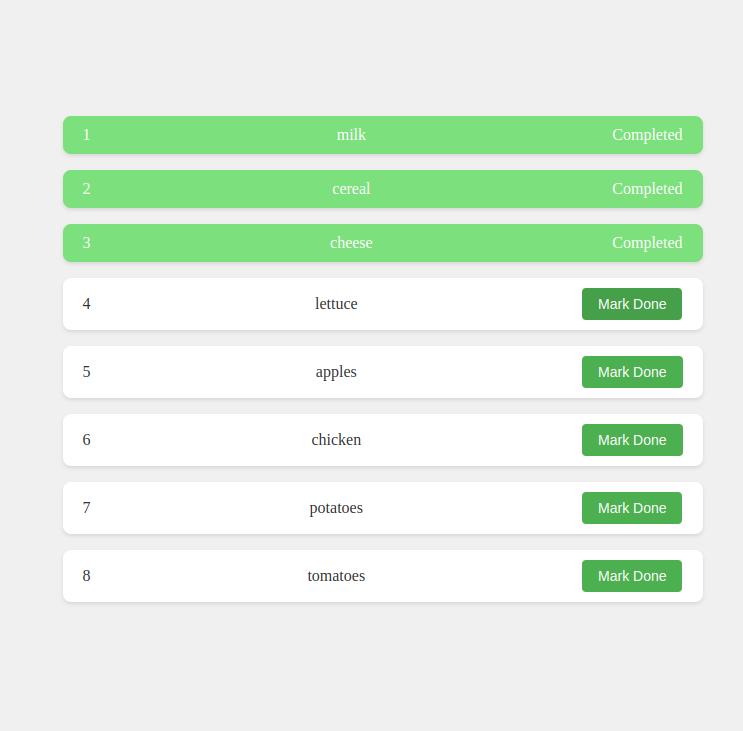
Hello… Todo World?
Let’s make the “Hello World” example of the frontend world, the “todo” app…
<script>
  import { writable } from 'svelte/store';

  let todos = [
    {id: 1, item: "milk"},
    {id: 2, item: "cereal"},
    {id: 3, item: "cheese"},
    {id: 4, item: "lettuce"},
    {id: 5, item: "apples"},
    {id: 6, item: "chicken"},
    {id: 7, item: "potatoes"},
    {id: 8, item: "tomatoes"}
  ];

  let pickedUp = writable({});

  function markDone(todo) {
    pickedUp.update(state => ({ ...state, [todo.id]: true }));
  }
</script>


<div class="root">
  {#each todos as todo}
    {#if $pickedUp[todo.id]}
    <div class="container done">
      <p>{todo.id}</p>
      <p>{todo.item}</p>
      <p>Completed</p>
    </div>
    {:else}
    <div class="container">
      <p>{todo.id}</p>
      <p>{todo.item}</p>
      <button on:click={() => markDone(todo)} class="button">Mark Done</button>
    </div>
    {/if}
  {/each}
</div>


<style>
  .root {
    display: flex;
    flex-direction: column;
    align-items: center;
    justify-content: center;
    min-height: 100vh;
    background-color: #f0f0f0;
  }

  .container {
    display: flex;
    align-items: center;
    justify-content: space-between;
    background-color: #fff;
    margin: 8px 0;
    padding: 10px 20px;
    border-radius: 8px;
    box-shadow: 0 2px 4px rgba(0,0,0,0.1);
    width: 80%;
    max-width: 600px;
  }

  .container p {
    margin: 0;
    font-size: 16px;
    color: #333;
  }

  .done {
    background-color: rgb(124, 224, 124);
  }

  .done p {
    color: white;
  }

  .button {
    padding: 8px 16px;
    font-size: 14px;
    color: white;
    background-color: #4CAF50;
    border: none;
    border-radius: 4px;
    cursor: pointer;
    transition: background-color 0.3s;
  }

  .button:hover {
    background-color: #45a049;
  }
</style>
Detail
In this above component, I’ve showcased several features of Svelte. Firstly, let’s take a look at the script tag.
Script Tag
In this tag, we’ve imported a writable store to keep state, defined a todos data structure, and defined a function markDone, which is bound to a click event. That’s it, with minimal code and a clean syntax, the developer can quickly build reactive components.
<script>
  import { writable } from 'svelte/store';

  let todos = [
    {id: 1, item: "milk"},
    {id: 2, item: "cereal"},
    {id: 3, item: "cheese"},
    {id: 4, item: "lettuce"},
    {id: 5, item: "apples"},
    {id: 6, item: "chicken"},
    {id: 7, item: "potatoes"},
    {id: 8, item: "tomatoes"}
  ];

  let pickedUp = writable({});

  function markDone(todo) {
    pickedUp.update(state => ({ ...state, [todo.id]: true }));
  }
</script>
Html Component
Here we define the html section of the component. Here, we see the use of {#each}, {#if} and binding the markDone function to the click event on the button. It should be straight forward as to what’s happening here, and it’s all defined within the html section of the component. Simple. Optionally, the developer can define a style tag, which provides component-level style overrides, allowing for highly customizable styles and formatting.
<div class="root">
  {#each todos as todo}
    {#if $pickedUp[todo.id]}
    <div class="container done">
      <p>{todo.id}</p>
      <p>{todo.item}</p>
      <p>Completed</p>
    </div>
    {:else}
    <div class="container">
      <p>{todo.id}</p>
      <p>{todo.item}</p>
      <button on:click={() => markDone(todo)} class="button">Mark Done</button>
    </div>
    {/if}
  {/each}
</div>
Conclude
Svelte is a framework aimed at being quick, create small builds, and ease of use. For me, it’s allowed me to create frontend applications without the need to learn more difficult frameworks like React or Vue. I’d recommend trying it out for yourself, especially if you’re a new developer or learning frontend development. It might help you get your toes wet!
You can check it out here on: github